Spice Up Your WordPress Site: Creating Stunning Before and After Photos with Slide Effect
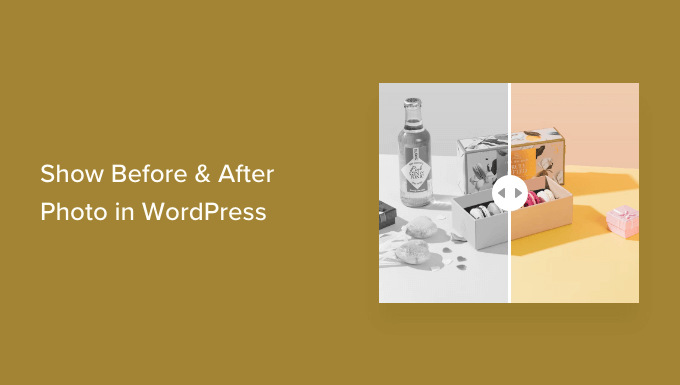
Are you looking to impress your website visitors with captivating and interactive visuals? Look no further! Adding before and after photos to your WordPress site can make a powerful impact on your audience. Whether you want to showcase the transformation of your products or services or simply engage your readers, a before and after photo with a slide effect is the way to go.

Why Use Before and After Photos with Slide Effect?
Before and after images provide an exciting and interactive experience for your visitors. By using a slider, they can effortlessly switch between the two versions of the image, allowing them to witness the transformation firsthand.
For online store owners, showcasing the impact of your products or services is crucial to increasing conversions. By showing the “before” state and the desirable “after” state, you can entice customers to make a purchase.
Affiliate marketers can also benefit from using persuasive before and after photos. These images help promote affiliate links and drive more sales by visually demonstrating the positive effects of the products or services they promote.
Moreover, the slide effect encourages engagement, keeping visitors on your site for longer. It can boost pageviews and reduce the bounce rate, ultimately improving the overall performance of your WordPress site.
Now, let’s dive into two methods that will allow you to create stunning before and after photos with slide effects on your WordPress site.
Method 1: Easy and Free Solution Using a Plugin
The simplest way to create before and after photos is by using the Ultimate Before After Image Slider & Gallery (BEA) plugin. This versatile plugin allows you to create horizontal or vertical sliders and customize them with different labels and colors.

To get started, install and activate the Ultimate Before After Image Slider & Gallery (BEA) plugin. Once activated, navigate to “Before and After Slider » Add New” in your WordPress dashboard.
In the new window, name your image slider for easy reference. Then, add the “before” image by clicking on “Add or Upload Image” in the “Before Image” section. You can choose an image from your WordPress media library or upload a new one.
To optimize your image for search engines, don’t forget to add some descriptive alt text. This helps search engines understand the image and display it to the right audience.
Next, add the “after” image in the same way. You can also include a title, description, and a “Read More” URL below the image to provide additional context and encourage visitor interaction.
Once you’ve customized your slider, choose whether you want a vertical or horizontal slider by selecting the appropriate option in the “Orientation Style” section. You can further customize the appearance and behavior of the slider using the “Options” and “Style” tabs.
Finally, click “Publish” to generate a shortcode. You can place this shortcode on any page, post, or widget-ready area of your WordPress site to display the before and after image with the slide effect.
Method 2: Advanced Solution Using SeedProd
If you want more control over your before and after photos and create a design that stands out, SeedProd is the perfect solution. As the best drag-and-drop WordPress page builder, SeedProd offers more than 300 ready-made templates to help you create high-converting landing pages, custom WordPress themes, and much more.

To add a stunning before and after image to your page, simply drag the “Before After Toggle” block from the left-hand menu and drop it onto your desired location.
With the block selected, you can add the “before” and “after” images by choosing them from your media library or stock images. Customize the labels above each image to make them more descriptive.
You can choose between a vertical or horizontal slide effect and enable “Move on Hover” for easier interaction. SeedProd also provides options to add colored overlays, customize the slider handle, and refine the appearance of the slider itself.
Once you’re satisfied with your design, save your work and publish it to your site. Your before and after image will now be live!
Final Thoughts
Adding before and after photos with a slide effect is an engaging and visually appealing way to showcase transformations, promote products, and increase user engagement on your WordPress site. Whether you choose the easy and free method with the Ultimate Before After Image Slider & Gallery (BEA) plugin or the advanced features of SeedProd, you can create stunning visuals that leave a lasting impression on your visitors.
So, what are you waiting for? Spice up your WordPress site with impressive before and after photos using the slide effect. Learn more about WordPress and web design tips and tricks by visiting WpHolic. Stay tuned for more exciting WordPress tutorials and join our community on Twitter and Facebook for additional updates and resources.


