How to Create Eye-Catching Multi-Column Content in WordPress
Do you want to jazz up your WordPress posts with multi-column content? Adding columns to your content can give it a more engaging and organized layout. It also enhances readability, allowing your visitors to quickly scan and digest the information.
In this article, we’ll show you how to effortlessly create multi-column content in WordPress without the need for any HTML coding. Get ready to take your post design to the next level!
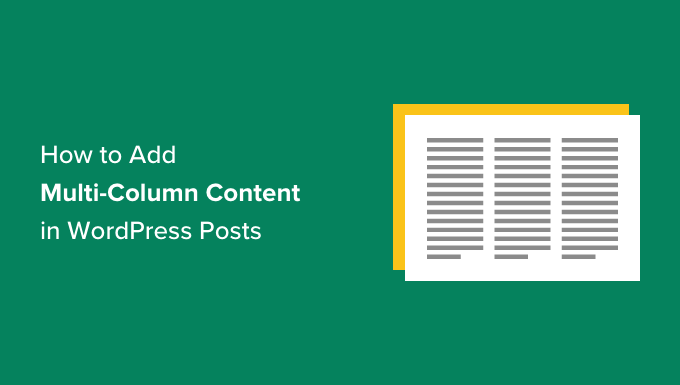
Why Add Multi-Column Content in WordPress?
Traditional print media, like newspapers and magazines, have used multi-column layouts for ages. They cleverly employed this technique to optimize space and improve readability in their publications.
Although single-column layouts are the norm on the web, multi-column grids still have their place. They are particularly effective for highlighting content, making it easier to scan and read.
If you run a magazine-style website, using a multi-column layout will give your content the same immersive experience as flipping through a physical magazine. It’s also handy for organizing comparisons, research papers, and other interactive content, enhancing readability and boosting user engagement.
Adding Multi-Column Content in WordPress Block Editor – The Easy Way
Creating multi-column content, also known as grid column content, is a breeze in the WordPress block editor. It comes with a built-in Columns block feature that makes the process a cinch.
To get started, simply create a new post or edit an existing one. Once you’re in the content editor, click on the ‘+’ icon at the top to add a new block.
In the ‘Design’ tab, select the Columns block. This will give you a range of column layouts to choose from, such as 50/50 or 33/66.

After selecting your desired layout, you can start adding blocks to your columns. The Columns block lets you fill each column with various content blocks, such as text, images, and videos.
Simply click the ‘+’ button in one of the columns or type ‘/’ followed by the block name to add a block. For example, you can add an image to one column and some text to the other.

You can also adjust the column width by using the block settings in the right column of the post-edit screen, making it even more customizable.
Adding Multiple Columns in Old WordPress Classic Editor
If you’re using the old WordPress Classic Editor (pre-Gutenberg), you’ll need to install a plugin to achieve a grid column layout.
First, install and activate the Column Shortcodes plugin. It provides an easy way to create multi-column layouts in the Classic Editor.
Once the plugin is activated, you can create a new post or edit an existing one. In the Classic Editor, look for the ‘[ ]’ button in the toolbar.

Clicking this button will display a selection of column shortcodes that you can use in your blog post. Choose the layout that suits your needs, and you can also adjust the column padding.

Once you’ve chosen a shortcode, it will automatically appear in the Classic Editor. You can then enter your content between the shortcodes.
If you want to add more columns, simply click the ‘[ ]’ button again to insert another column shortcode. Then, add your content to the new column.

Preview your post, and if you’re satisfied, hit the publish button.
Conclusion
Now you know how to add captivating multi-column content to your WordPress posts and pages. Say goodbye to HTML coding and hello to effortless post design!
If you’re hungry for more WordPress tips and tricks, be sure to check out our YouTube Channel for video tutorials. And don’t forget to follow us on Twitter and Facebook for the juiciest WordPress secrets.

